Design & Effects
Add a Frame or Border to a Photo
Updated Last updated: May 4, 2026
Learn how to add stylish frames and borders to your photos using Photo Pos Pro.
Step-by-Step Guide
1. Open the Frames panel
Go to Effects → Frames to open the built-in frames library.
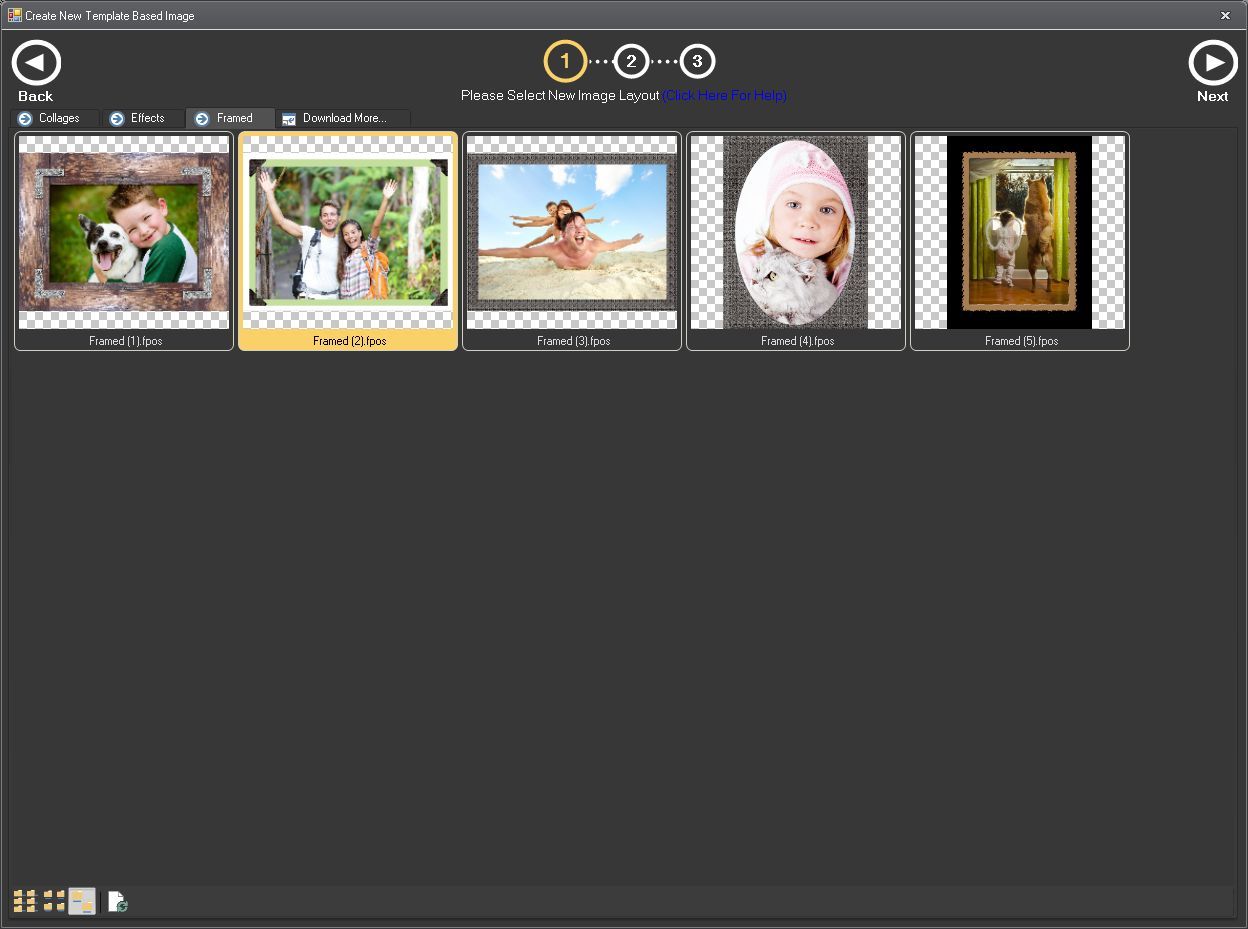
2. Choose a frame
Browse through the available frame styles and select one you like.
3. Apply the frame
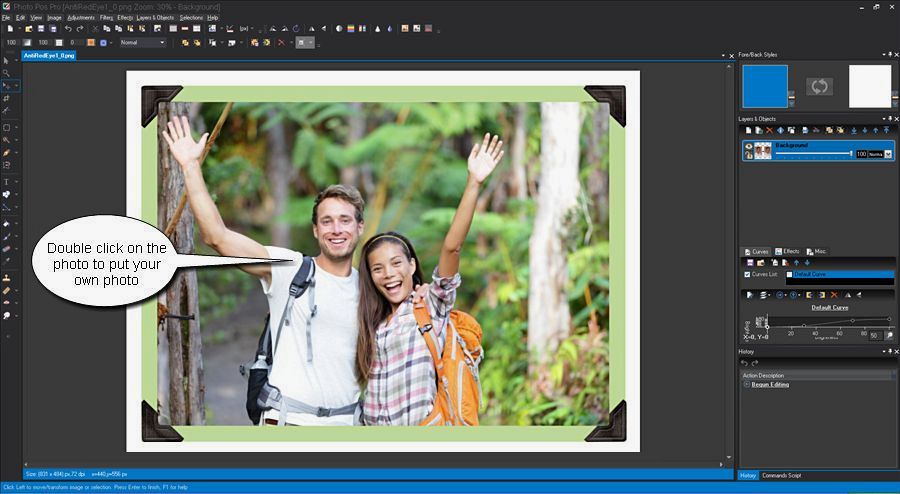
Select the Move/Resize/Rotate tool  .
.
Double click on current photo and select a new to photo to put in instead the current one
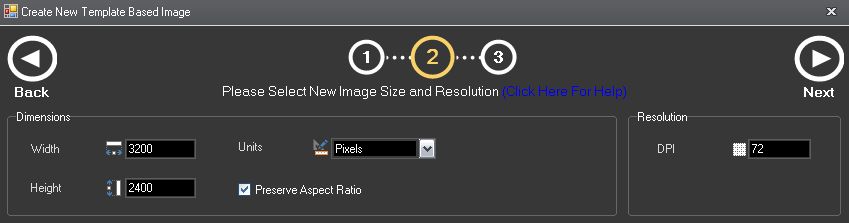
4. Adjust if needed
You can undo and try different frames until you find the best match for your photo.
Related Tutorials
Tip: For best results, use high-quality images and zoom in when editing fine details.