Remove or Replace a Photo Background
Updated Last updated: May 3, 2026
Learn how to remove or replace an image background using the Magic Background Eraser tool in Photo Pos Pro.
Step-by-Step Guide
1. Open your image
Open the photo you want to edit. Go to File → Open, or press Ctrl + O.

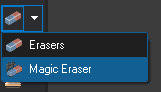
2. Select the Magic Eraser tool
From the Tools toolbar, select the Magic Eraser tool.
3. Erase or restore the background
Move the mouse over the background area you want to remove. Hold the left mouse button to erase the background, or hold the right mouse button to restore an area that was erased by mistake.
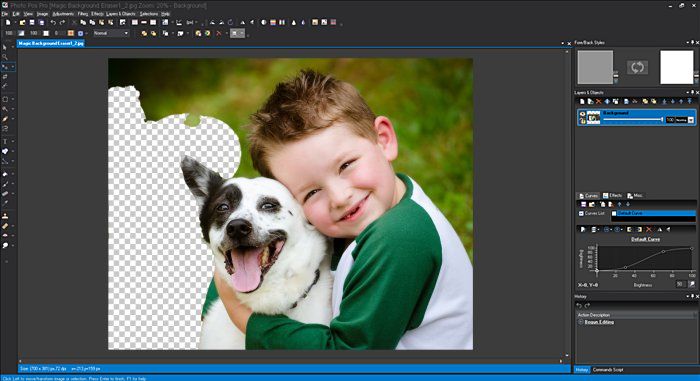
4. Continue removing the background
Continue erasing the unwanted background. The Magic Eraser helps remove the background while keeping the main object visible.

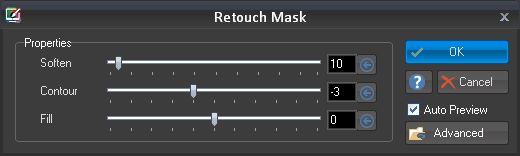
5. Refine the edges
To get a more natural result, refine the mask edges. Go to Adjustments → Retouch Mask. In the Retouch Mask window, leave the default settings and click OK.
6. Review the image without the background
After refining the mask, the image should appear without the original background and with smoother, more natural edges.

7. Place the subject on a new background
To add a new background, copy the cut-out image using Edit → Copy. Open the new background image, then choose Edit → Paste → Into Current Image. Drag and resize the object as needed, then press Enter when finished.