Create a Golden Text Effect
Updated Last updated: May 4, 2026
Learn how to create a polished golden metallic text effect using glow, inner glow, and emboss effects in Photo Pos Pro.
Step-by-Step Guide
1. Create a new blank image
Create a new 800 x 500 blank image using File → New → Blank Image.
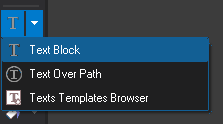
2. Choose the Text Block tool
Select the Text Block tool from the left toolbar.
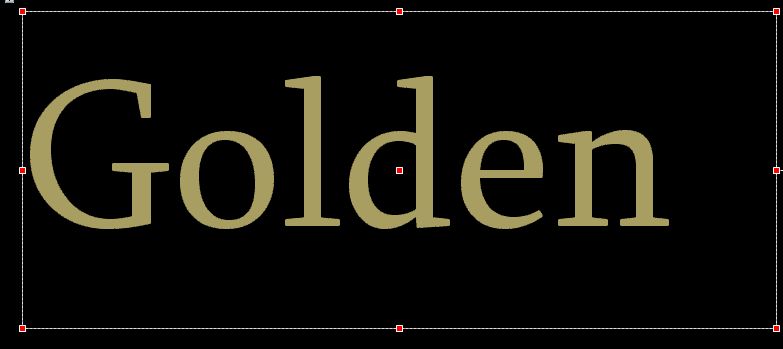
3. Create the text object
Drag the mouse to create a text area, then type the desired text.
4. Select a large font
Choose a large (100 or higher, we used "Sylfaen" size 160 font) bold font for the best metallic gold appearance.
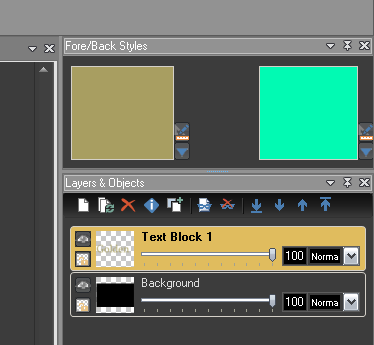
5. Set the text color
Set the text color to brown. The original tutorial used RGB values R=168, G=158, B=97.
6. Position the text
Move and resize the text object into the desired location.
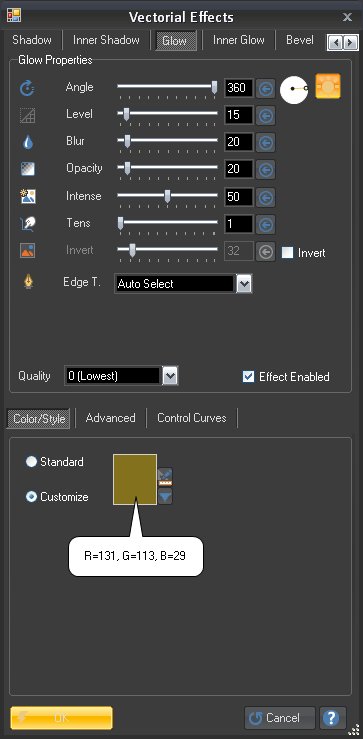
7. Open the Glow effect
Make sure the text layer is selected. Go to Effects → Light → Glow.
8. Apply glow settings
Enter the glow values shown in the original tutorial to create the golden shine.
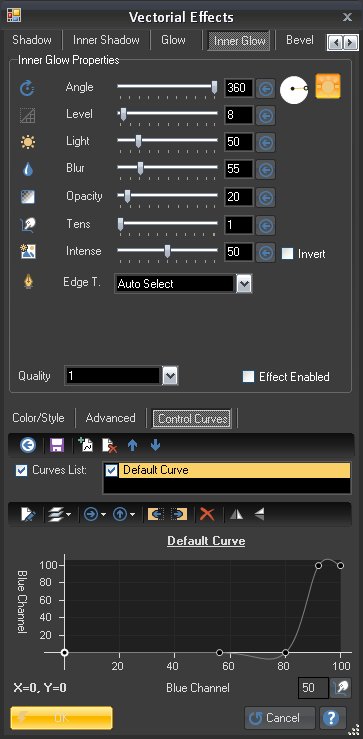
9. Open the Inner Glow tab
Switch to the Inner Glow tab in the Light Effects window.
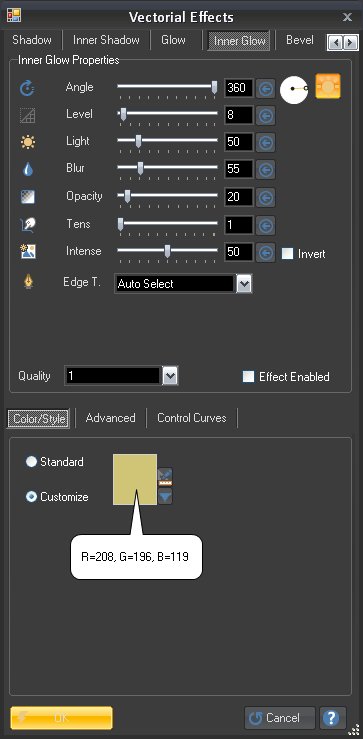
10. Apply inner glow
Enter the Inner Glow values shown in the tutorial to create bright metallic highlights.
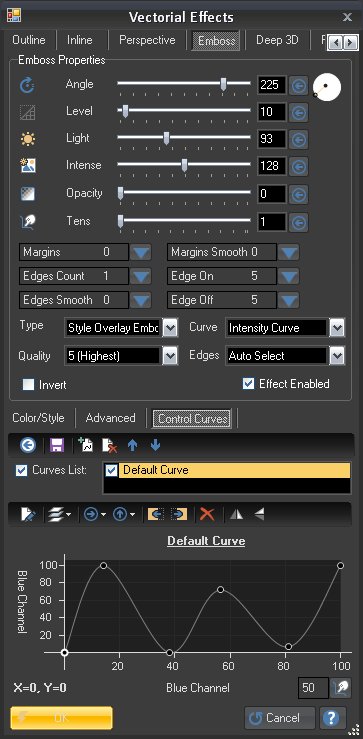
11. Open the Emboss tab
Switch to the Emboss tab in the Light Effects window.
12. Apply emboss settings
Enter the emboss values shown in the tutorial to create the raised metallic effect.
13. Confirm the effects
Click OK to apply all light effects to the text layer.
14. Review the final golden text
The final result should look like polished metallic golden text.

15. Edit the text later if needed
Since text objects are vector layers, you can later modify the text, font, size, and colors using the Text tool.