Photo Editing Basics
Fix Poor Photos with Automatic Corrections
Updated Last updated: May 4, 2026
Learn how to quickly improve poor photos using automatic correction tools and the Recovery Brush in Photo Pos Pro.
Step-by-Step Guide
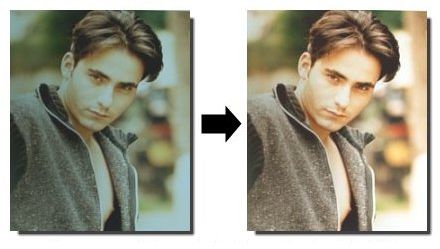
1. Fix poor color tones with Auto White Balance
If your photo has poor color tones, use Auto White Balance. Go to Adjustments → Auto White Balance.
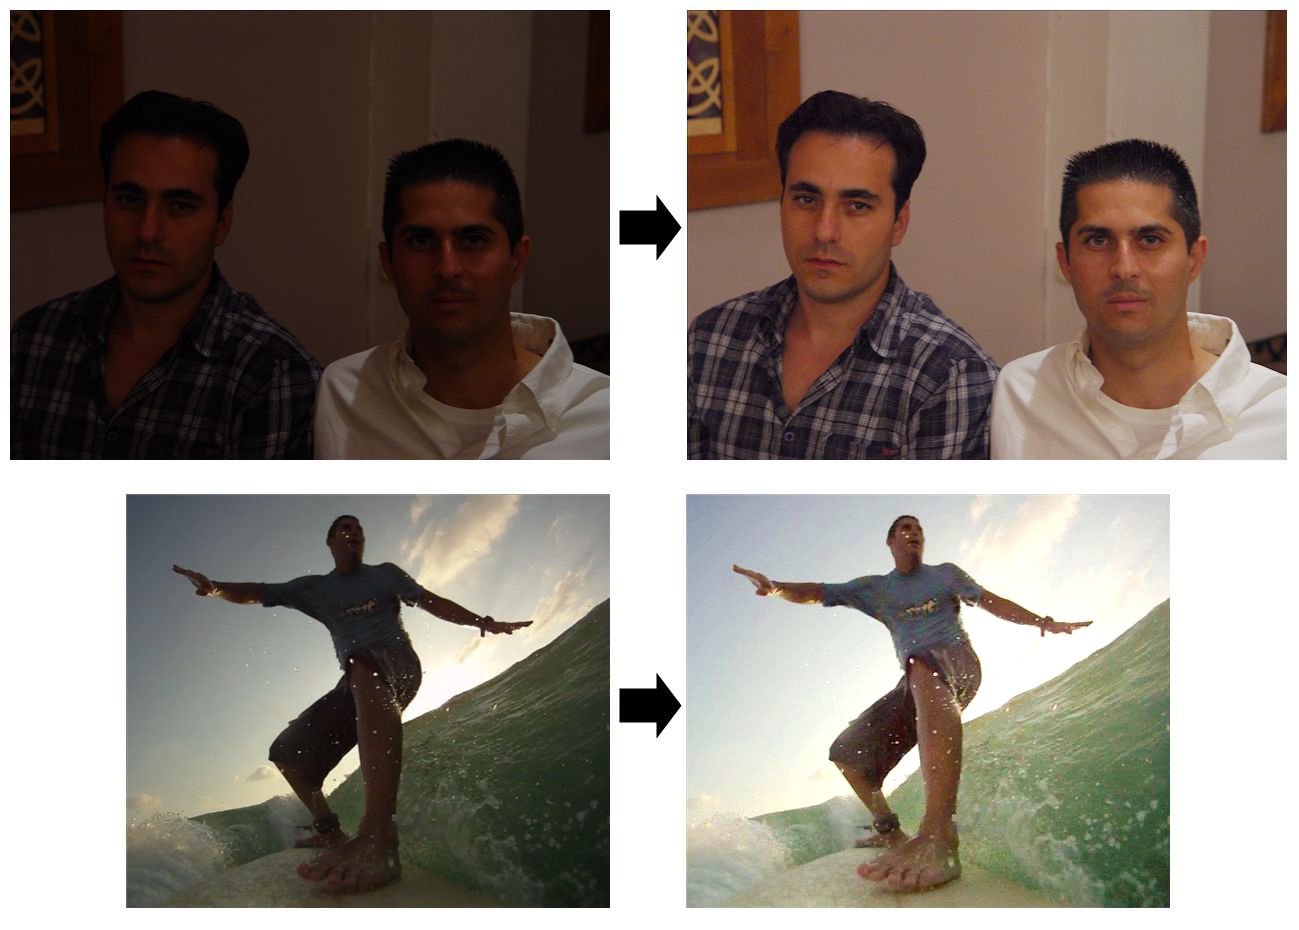
2. Brighten a dark photo
If your photo is too dark, use Auto Correct Dark Picture. Go to Adjustments → Auto Corrections → Auto Correct Dark Picture.
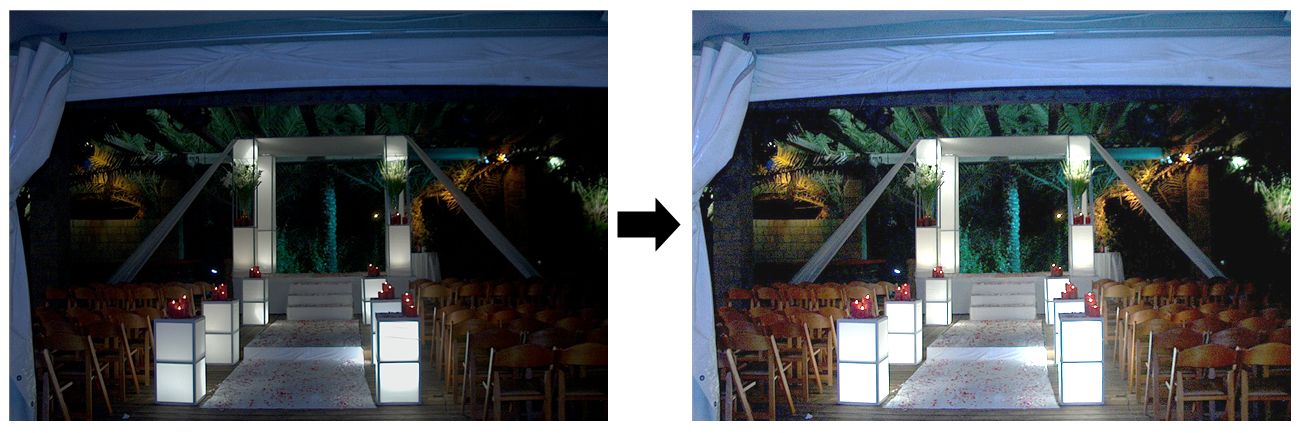
3. Recover details in very dark photos
If your photo is very dark or has missing details, use Logarithm Stretch. Go to Adjustments → Logarithm Stretch.
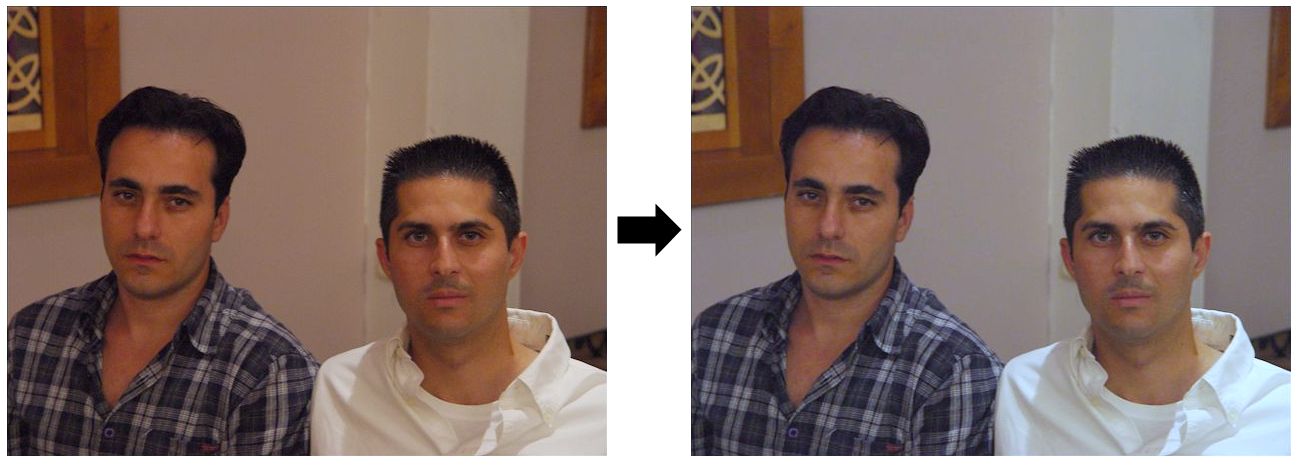
4. Correct warm or cold color shades
If your photo has an orange warm shade or a bluish cold shade, use the Cold/Warm correction tool. Go to Adjustments → Correct Cold/Warm Picture.
5. To remove small imperfections
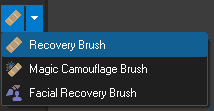
- To remove small imperfections such as scratches, spots, pimples, or small marks, open the desired photo and choose the Recovery Brush tool from the Tools toolbar.
- Choose a similar repair source - Find an area near the imperfection that looks similar to the area you want to repair. Right-click that clean area to select it as the repair source.
- Repair the imperfection - Move the mouse over the area that needs repair, hold the left mouse button, and gently brush over it. Repeat the process until the imperfection is removed.
Frequently Asked Questions
Yes. Photo Pos Pro includes functions such as the Auto Correct Dark Picture,Auto White Balance and etc. under Adjustments -> Auto Corrections menu that help fix photos quickly.
Yes. Simply select the desired area using one of the selection tools before applying the fix function.
Tip: For best results, use high-quality images and zoom in when editing fine details.