Create a Neon Sign Effect
Updated Last updated: May 4, 2026
Learn how to create a glowing neon sign effect using shapes, text, and glow effects in Photo Pos Pro.
Step-by-Step Guide
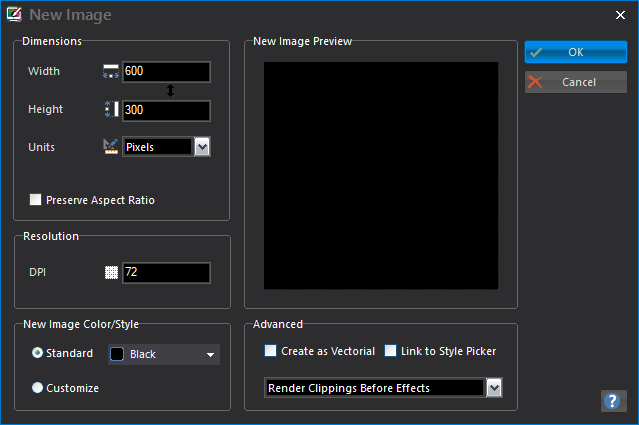
1. Create a black image
Create a new 600 x 300 black blank image using File → New → Blank Image.
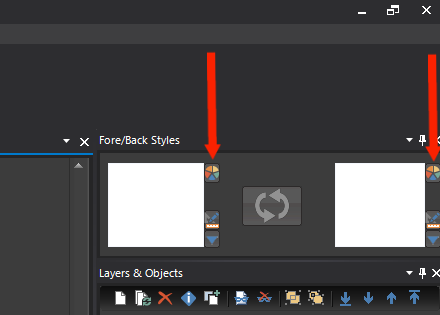
2. Set both colors to white
Set both the Fore Color/Style and Back Color/Style to white.
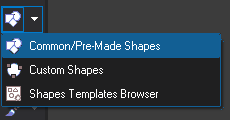
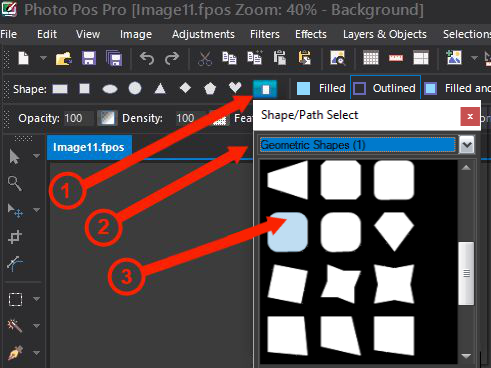
3. Choose the Common Shapes tool
From the left toolbar, choose the Common/Pre-made Shapes tool.
4. Select a rounded rectangle
Open More Shapes, select Geometric Shapes (1), and choose the rounded rectangle shape.
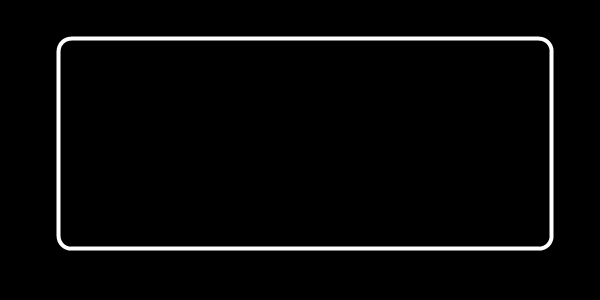
5. Draw the sign frame
Draw an outlined rounded rectangle, then move and resize it into place.
6. Deselect the frame
Press Esc or use Layers & Objects → Deselect All Layers & Objects.
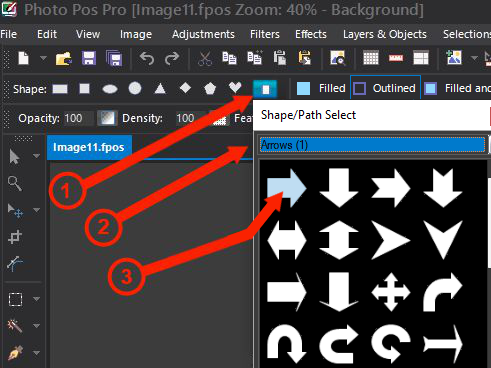
7. Select the arrow shape
Open More Shapes, choose Arrows (1), and select the first arrow shape.
8. Draw the arrow
Draw the arrow shape, then move and resize it into the desired location.

9. Deselect the arrow
Press Esc or use Layers & Objects → Deselect All Layers & Objects.
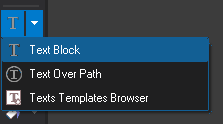
10. Choose the Text Block tool
Select the Text Block tool and drag a text area where the neon text should appear.
11. Type the neon text
Type the desired text. Use a large font size; the original tutorial used Comic Sans MS size 52.
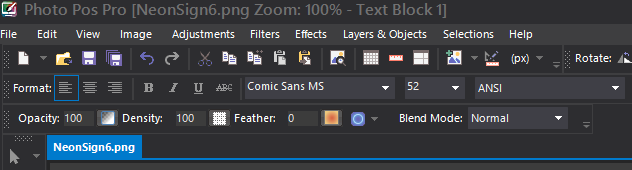
12. Move and resize the text
Move and resize the text layer into the desired location.
13. Deselect the text
Press Esc or use Layers & Objects → Deselect All Layers & Objects.
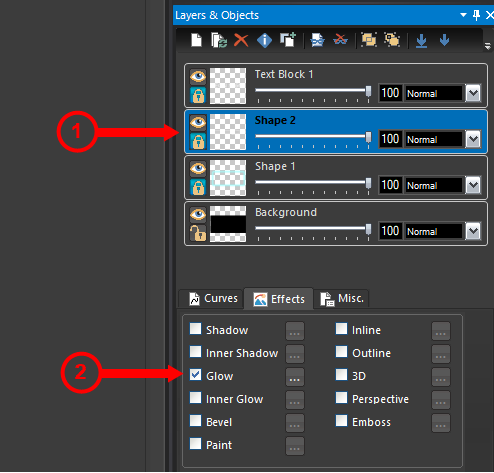
14. Select the rounded rectangle layer
Select the rounded rectangle layer, enable the Glow effect, and open the Glow settings.
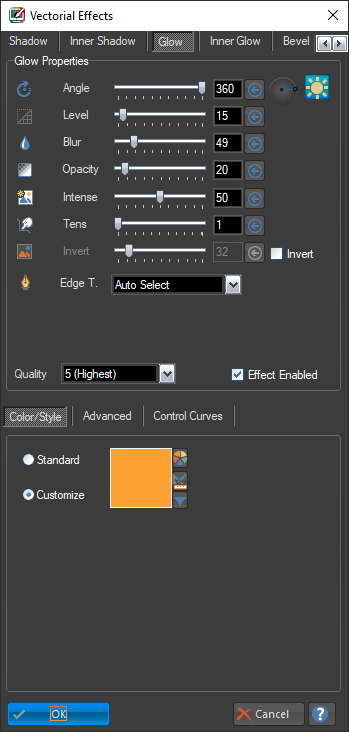
15. Apply glow to the frame
Fill in the glow values shown in the original tutorial and click OK.
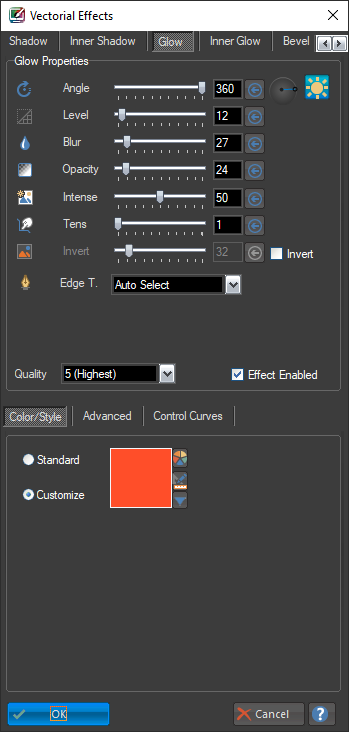
16. Select the arrow layer
Select the arrow layer, enable the Glow effect, and open the Glow settings.
17. Apply glow to the arrow
Fill in the glow values shown in the original tutorial and click OK.
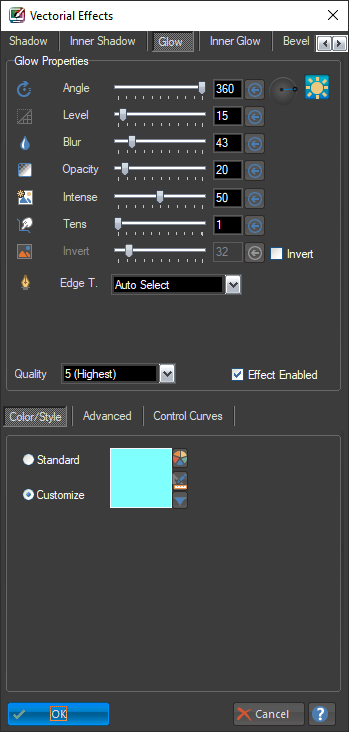
18. Select the text layer
Select the text layer, enable the Glow effect, and open the Glow settings.
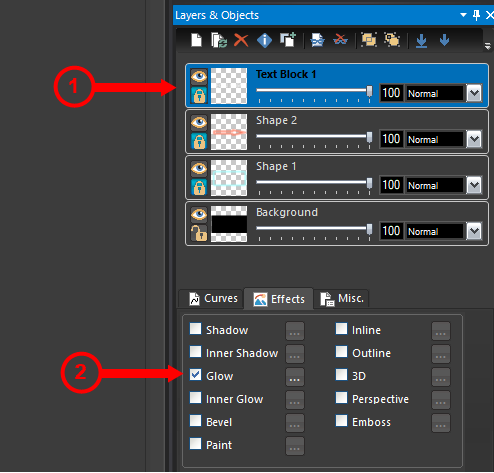
19. Apply glow to the text
Fill in the glow values shown in the original tutorial and click OK.
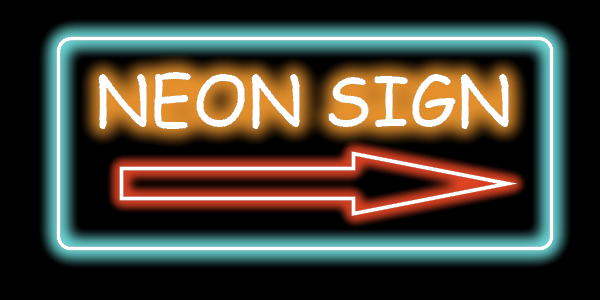
20. Review the final neon sign
The result should be a glowing neon sign with a bright frame, arrow, and text.